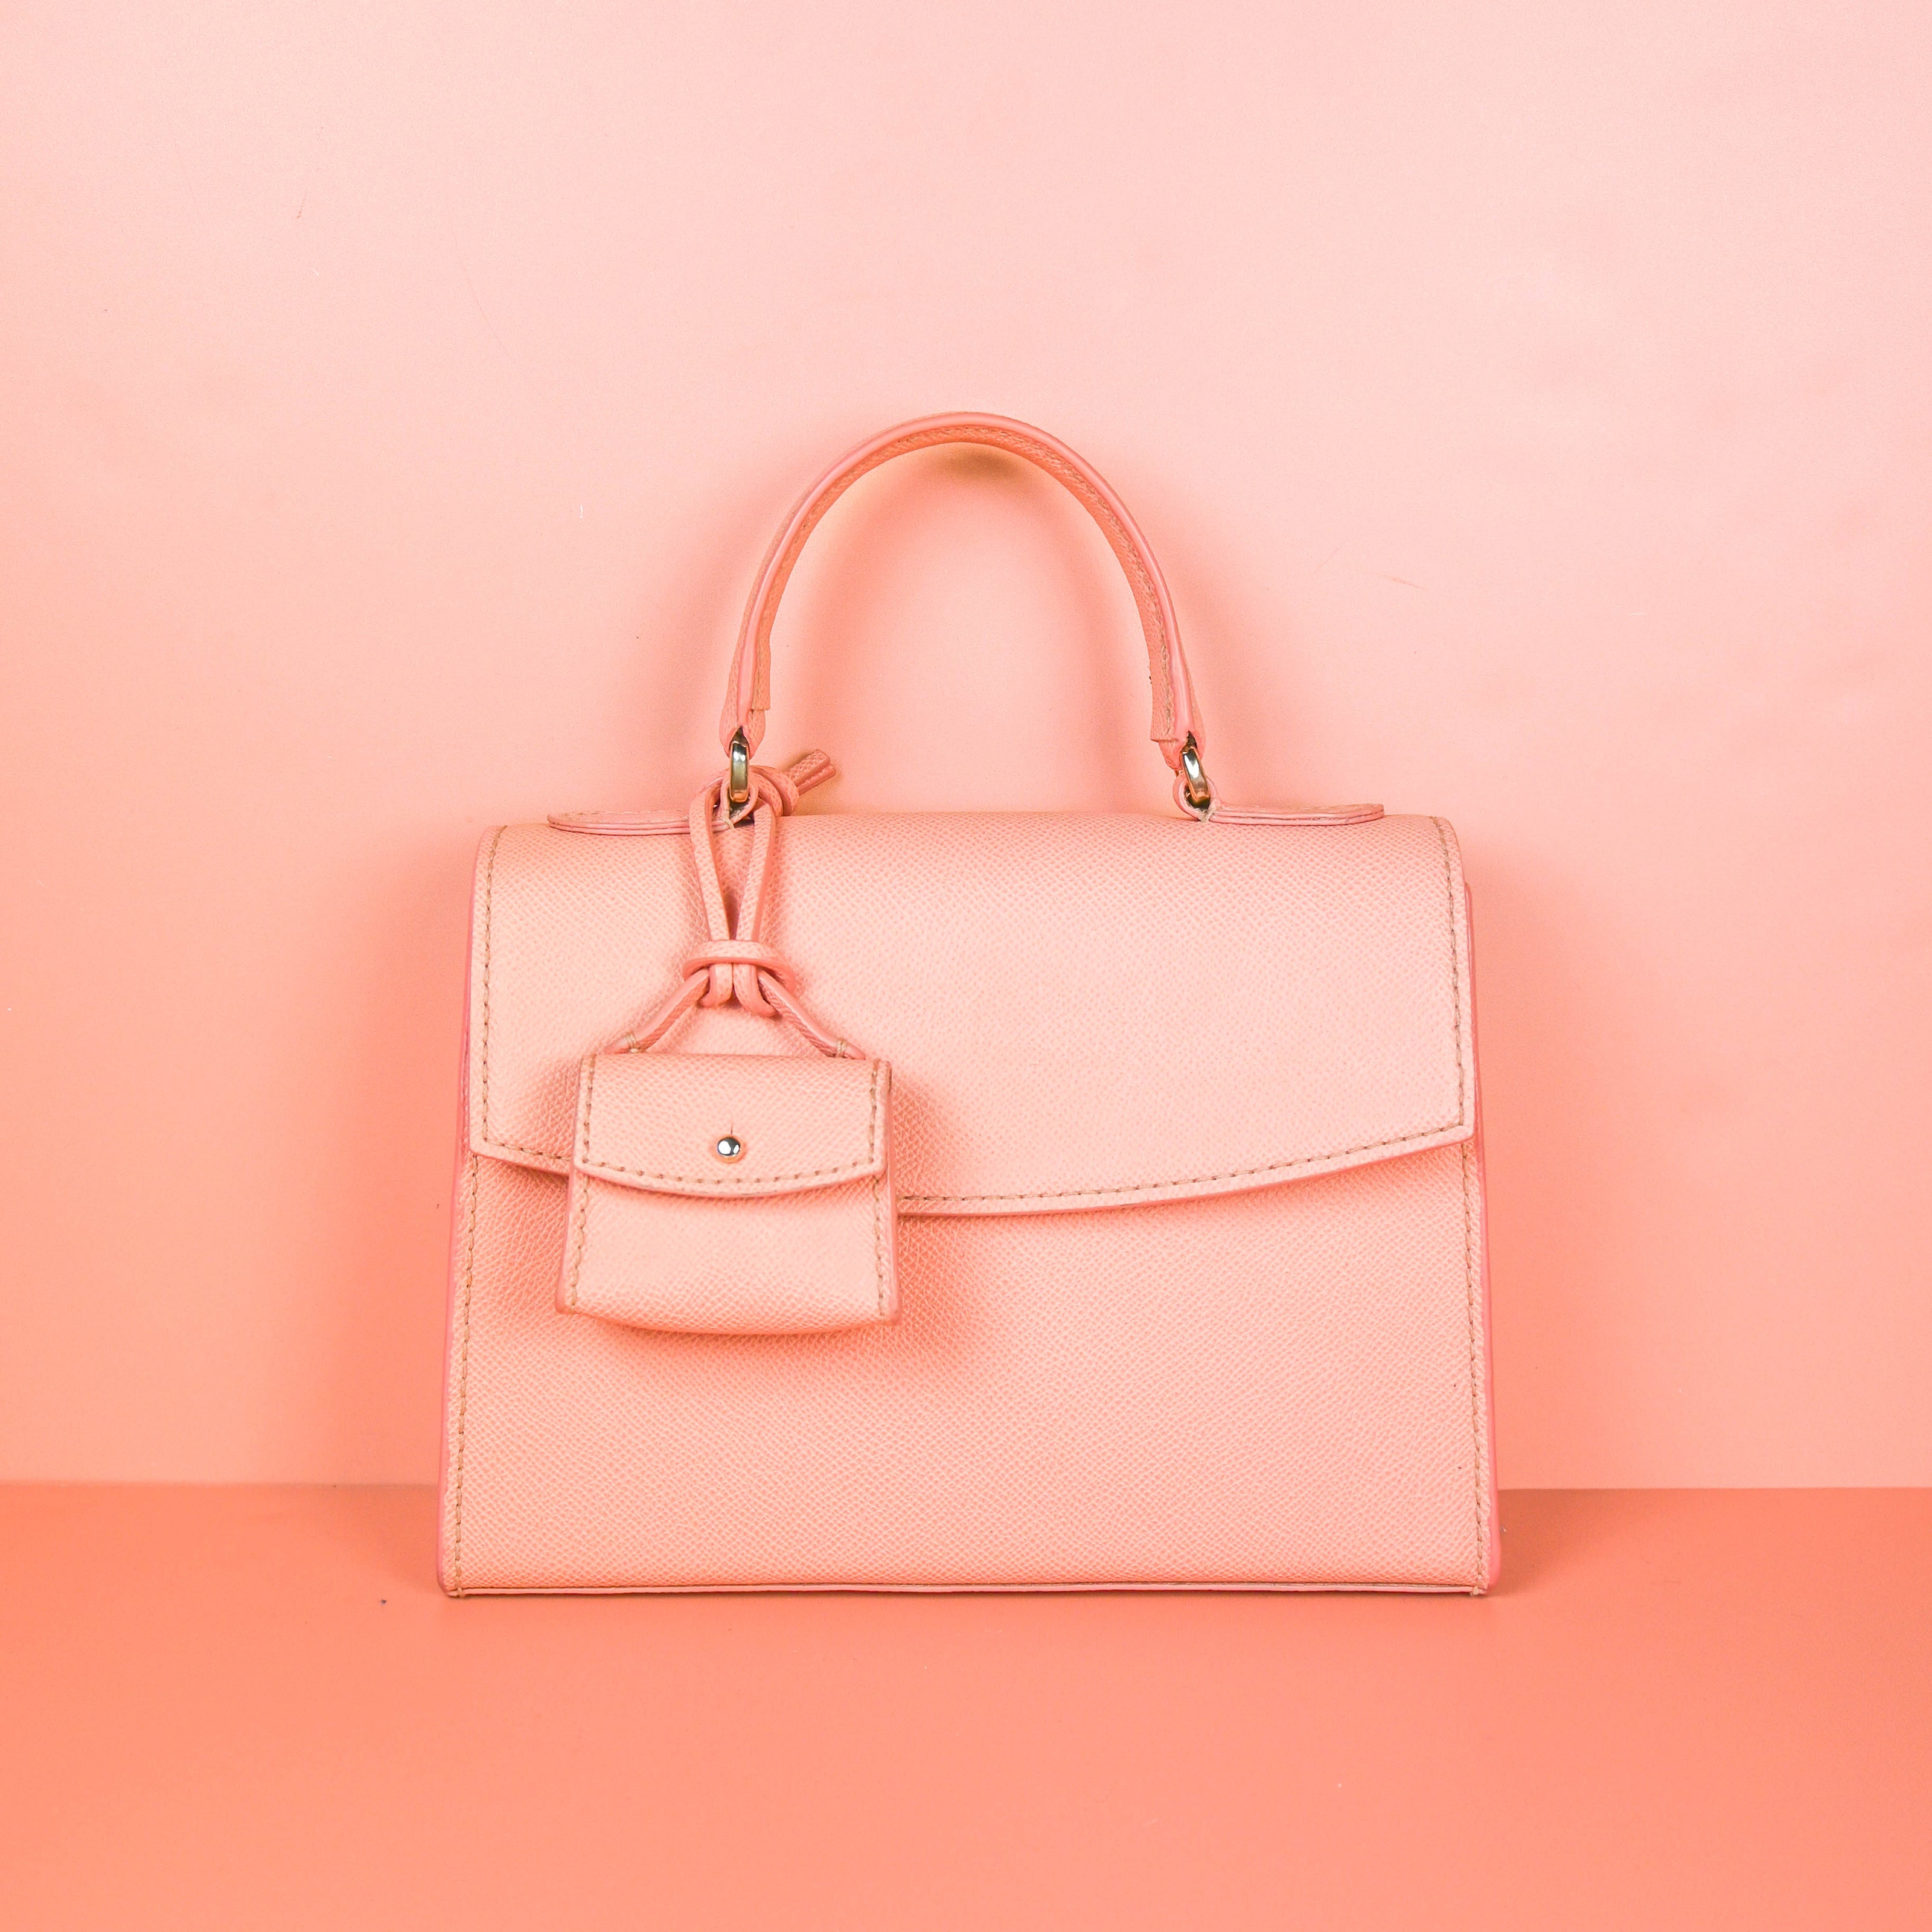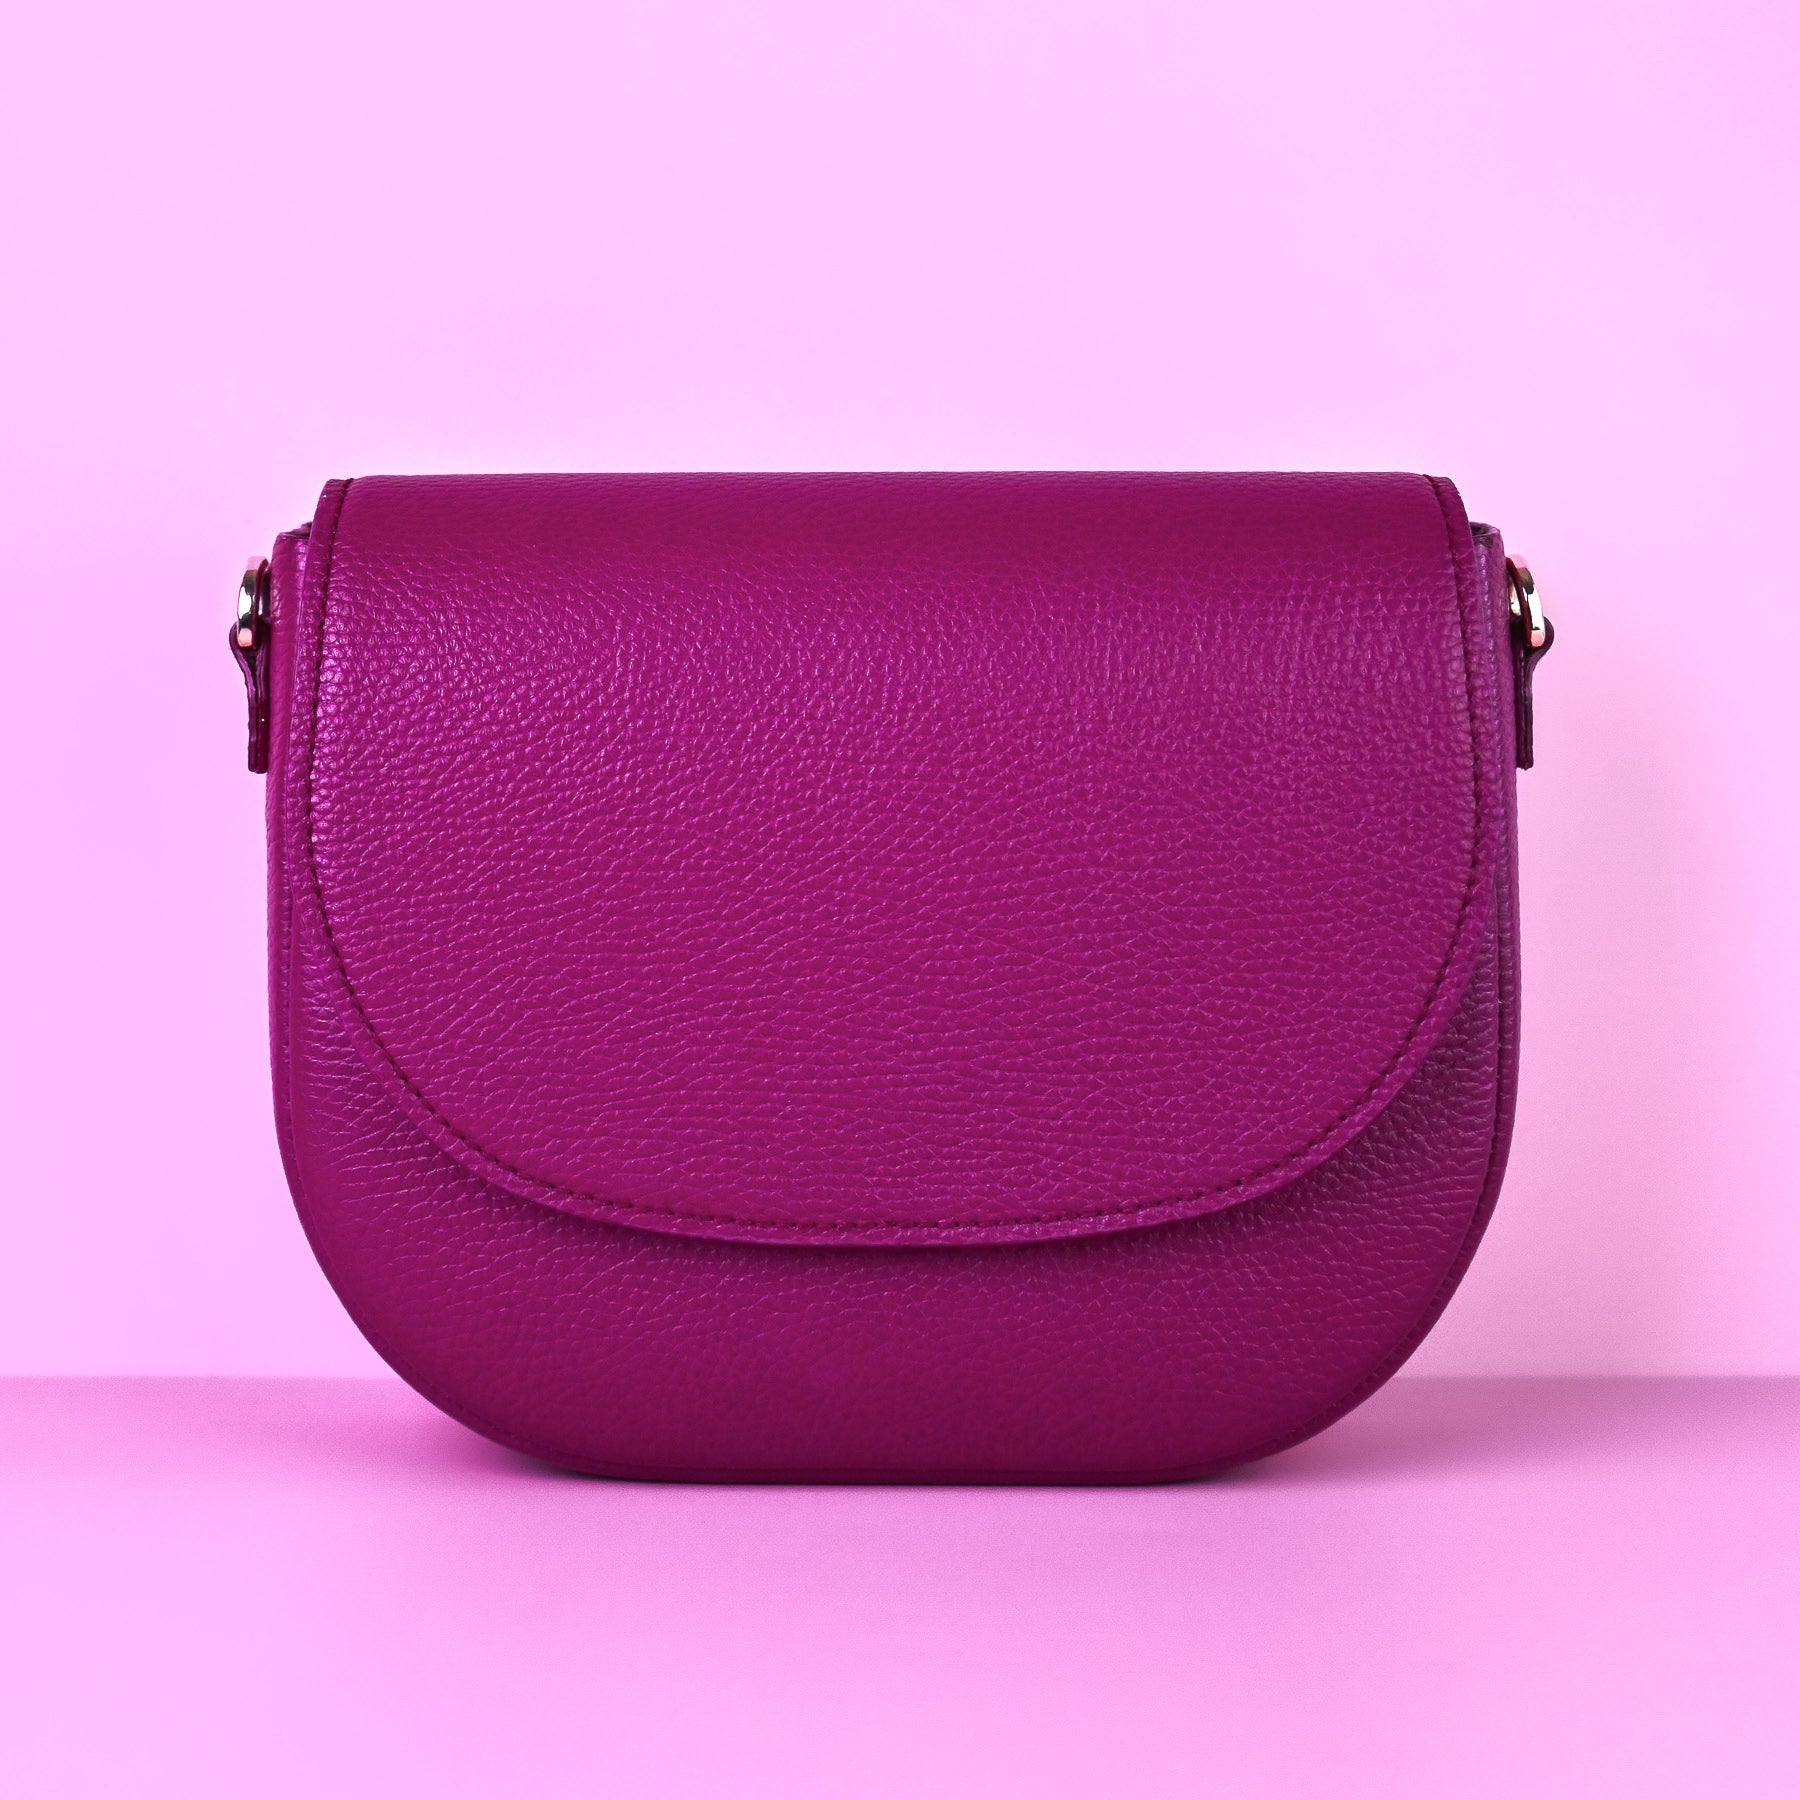
Basics of leather craft: cutting leather
Every leather project starts with cutting the leather to size. With our DIY boxes, we do the cutting for you so that the individual pieces fit together perfectly in the end.
To help you realize your own creative ideas in leather craft, we show you lots of tips and tricks for cutting leather correctly in a video tutorial. Let's go!
Strength lies in tranquillity
Before we go straight into our video tutorial a very important note in advance: when cutting leather, in addition to a sharp blade, it is important to work calmly and with concentration. So really take the time to work in a relaxed and therefore accurate manner 💆♀️
And don't get stressed if the first cuts don't turn out the way your inner perfectionist would like - practice makes perfect!
- how best to transfer patterns to the leather
- how different leathers behave when cut
- how to cut straight lines cleanly (this is easier said than done)
- how to cut corners, curves and curves accurately
- how to get a particularly beautiful result in the end

--------------------------------------------------------------------------------------------
Leather cutting for professionals
If you enjoy cutting leather and want to give free rein to your creativity, we recommend the art of leather marquetry.
You can conjure up beautiful puzzle pictures from leather scraps - whether abstract shapes, landscapes, lettering, flowers or animals, there are no limits to your imagination. Whatever you like is allowed 👩🎨🎨

The basic idea is to cut the leather precisely to size and glue it together to create a seamless overall look - a perfect project for leather remnants and make others happy!
Of course we will show you in a video tutorial exactly how the Leather Marquetry works:
If you are looking for more inspiration for different possible motifs for your own leather marquetry, take a look at our Pinterest board over 🤩
We wish you lots of fun living out your creative leather ideas!